Available to super admins, sub-admins and managers.
There are two ways using which an user can set-up surveys in CultureMonkey:
- Through Templates module: You can set-up surveys through the survey templates present in CultureMonkey Library and also through customly created templates. Here is the article on setting up surveys through survey templates.
- Through Custom module: You can also create surveys through Custom module. This method is relevant for creating standalone surveys.
The below article lists the steps involved in creating surveys through Custom module.
Navigating to create a survey feature
- Login to CultureMonkey and go to the Custom section from the left panel.
- Click on Create A Survey which you can find on the top right side of the screen.
Creating a new survey
Step 1: Basic survey settings
In this step, you would be required to set up some basic details about the survey like the survey name, description, etc.
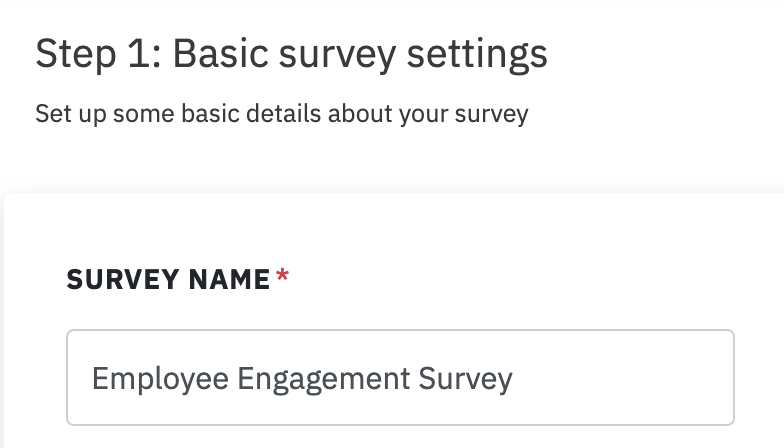
Survey name
Begin your survey creation by entering the name/title of the survey in the box as shown below.
Survey Description
Add a description about your survey. Ideally 1-3 lines so that the respondents know the purpose/motive of the survey.

Adding survey description helps in setting a clear context with the participants and in turn results in good participation rate as well.
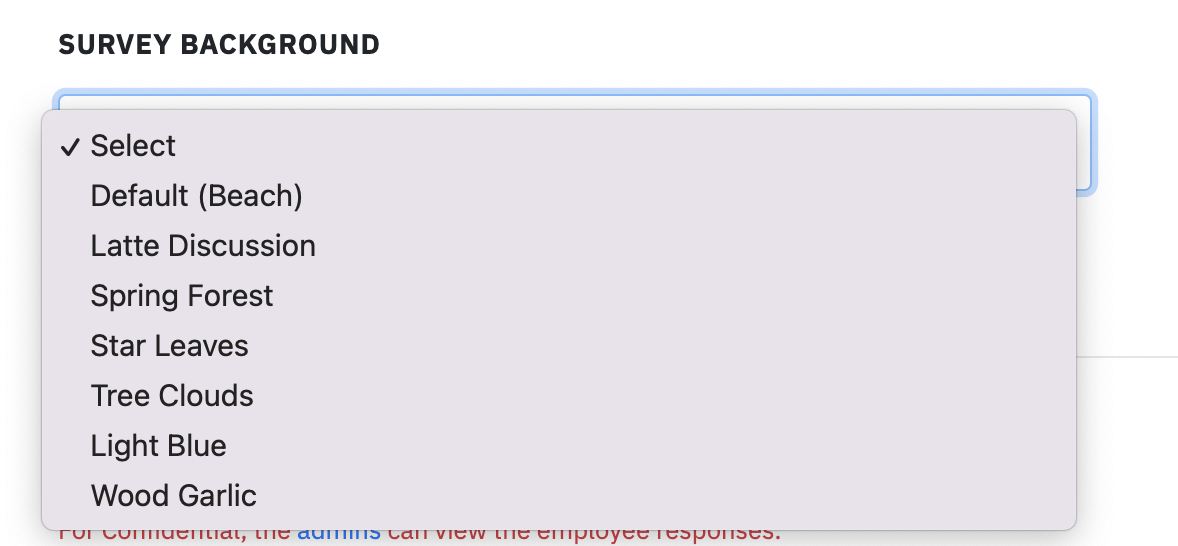
Survey Background
CultureMonkey offers multiple backgrounds to choose from. The background of the survey can be selected from the pre-existing set of backgrounds available.
Identity Settings
Users can choose to set the survey as completely anonymous where the employees can answer the questions anonymously and their employee details will not be disclosed.
Alternatively, users can also set the survey as confidential where only the admins would be able to view the employee details for each response.
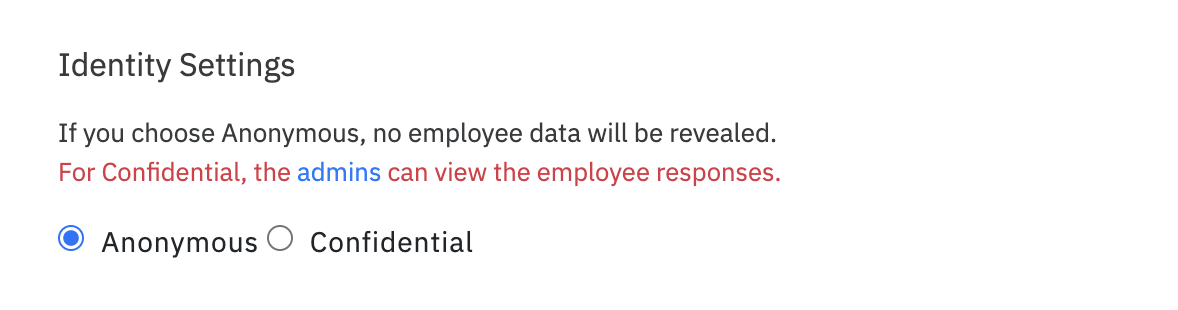
- Once the survey is launched, the identity settings cannot be changed.
- If identity settings option is not available, please reach to support@culturemonkey.io to get it enabled.
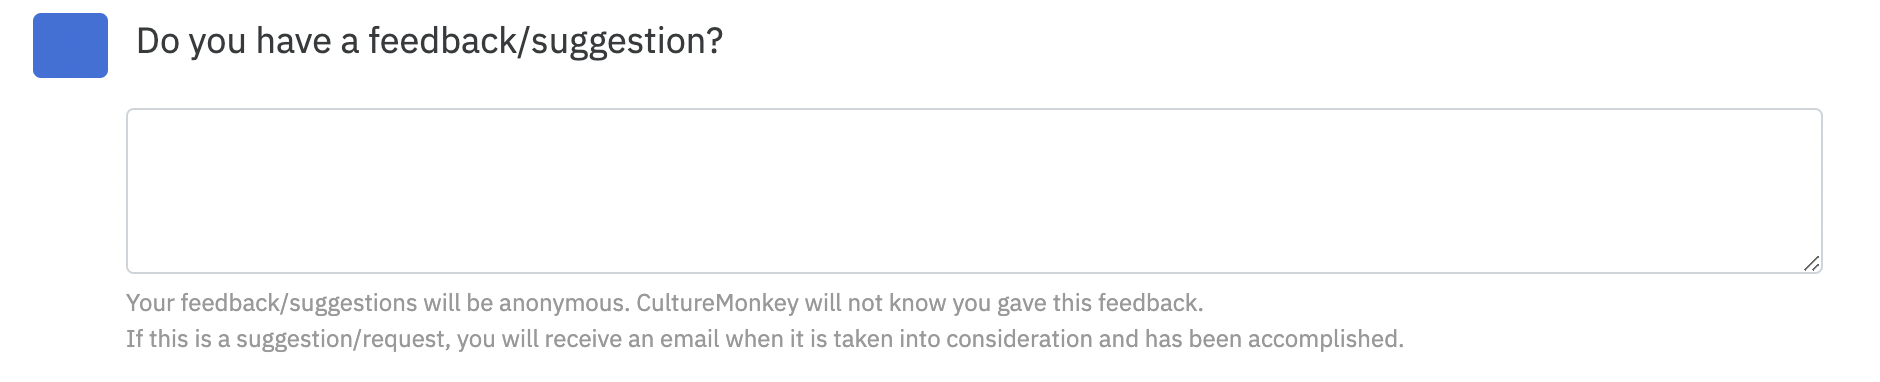
Question Settings
CultureMonkey adds e-NPS and feedback box to the survey by default. However, you can remove the default questions under question settings.
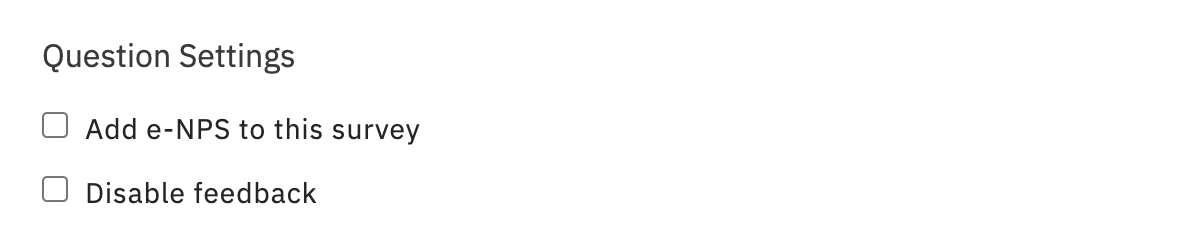
- Add e-NPS to this survey: Check this box to get the e-NPS question added to the survey. Incase you do not want this question in the survey, uncheck this box to get it removed.

- Disable feedback: Check this box to remove the default feedback box from the survey.
Please reach out to support@culturemonkey.io if you want to add any custom e-NPS like manager e-NPS, developer e-NPS, etc.
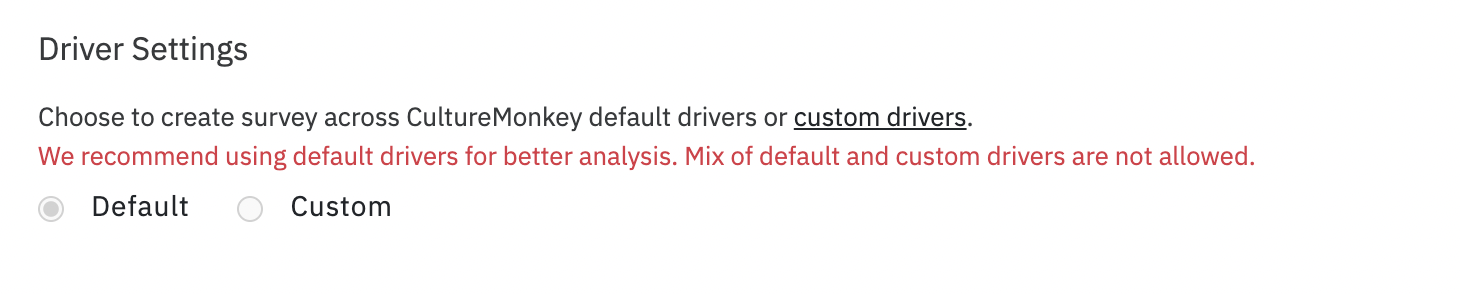
Driver Settings
CultureMonkey provides 15 different default drivers which covers all the major aspects that are required for an employee engagement.
However, we understand that you might want to run few surveys using your own set of drivers as well. In that case, custom drivers might be something you can go with.
Reporting rules
Reporting rules lets you set the anonymity threshold for any survey.
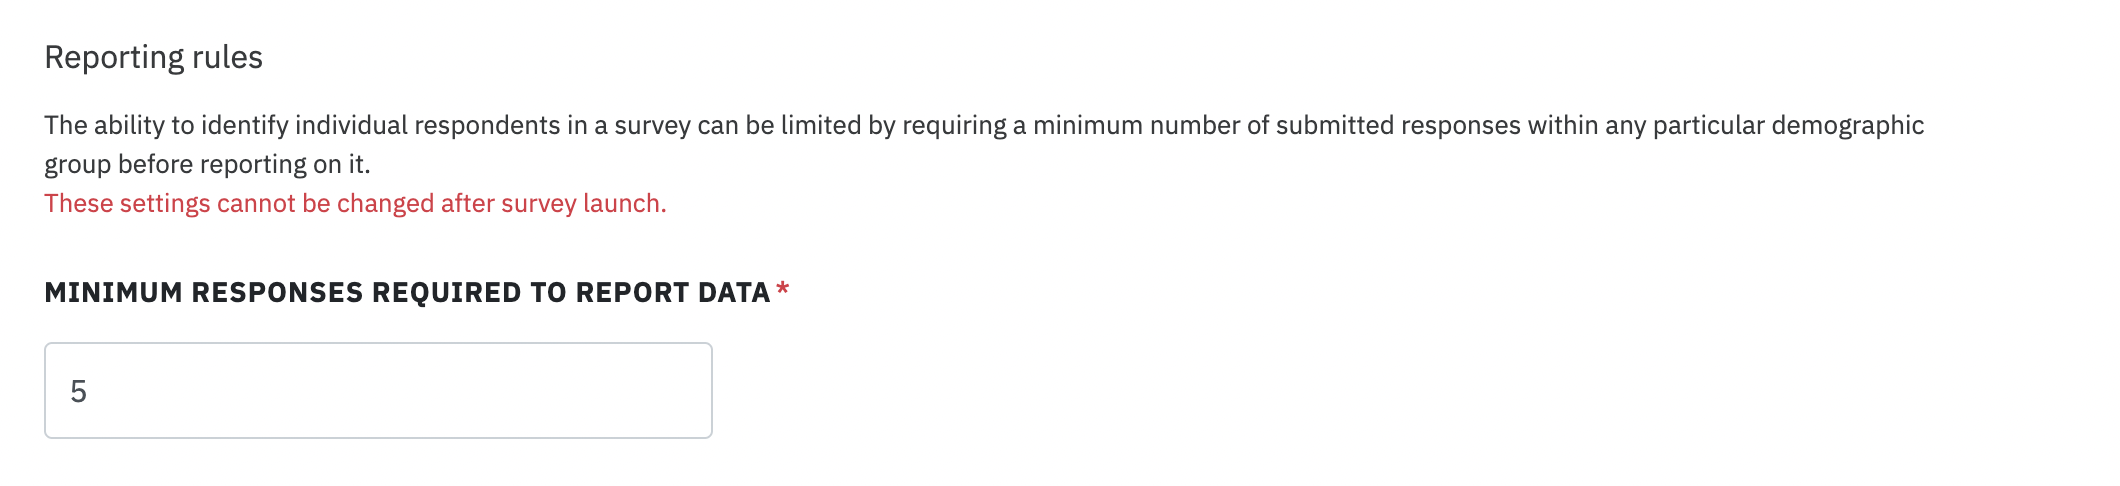
CultureMonkey needs atleast 3 responses to generate the survey report, hence the lowest number you can give in the reporting rules field is 3.
Save & Continue
Once you have completed all the basic survey settings, click on Save & Continue to save the changes and move to the next step.
Step 2: Survey Questions
- In the questions page, click on Create section to add sections to the survey questionnaire.
- Once you have added the section, you can add questions to the section using three different options.

- Add question from our Library: Choose this option if you want to add any question from CultureMonkey's questions library. Please note that this option would be available only for surveys which uses default drivers.
- Add Custom Question: If you have your own custom set of questions, chose this option to get them added to the survey.
- Add Grid Question: Use this option, if you want to add grid questions to the survey.
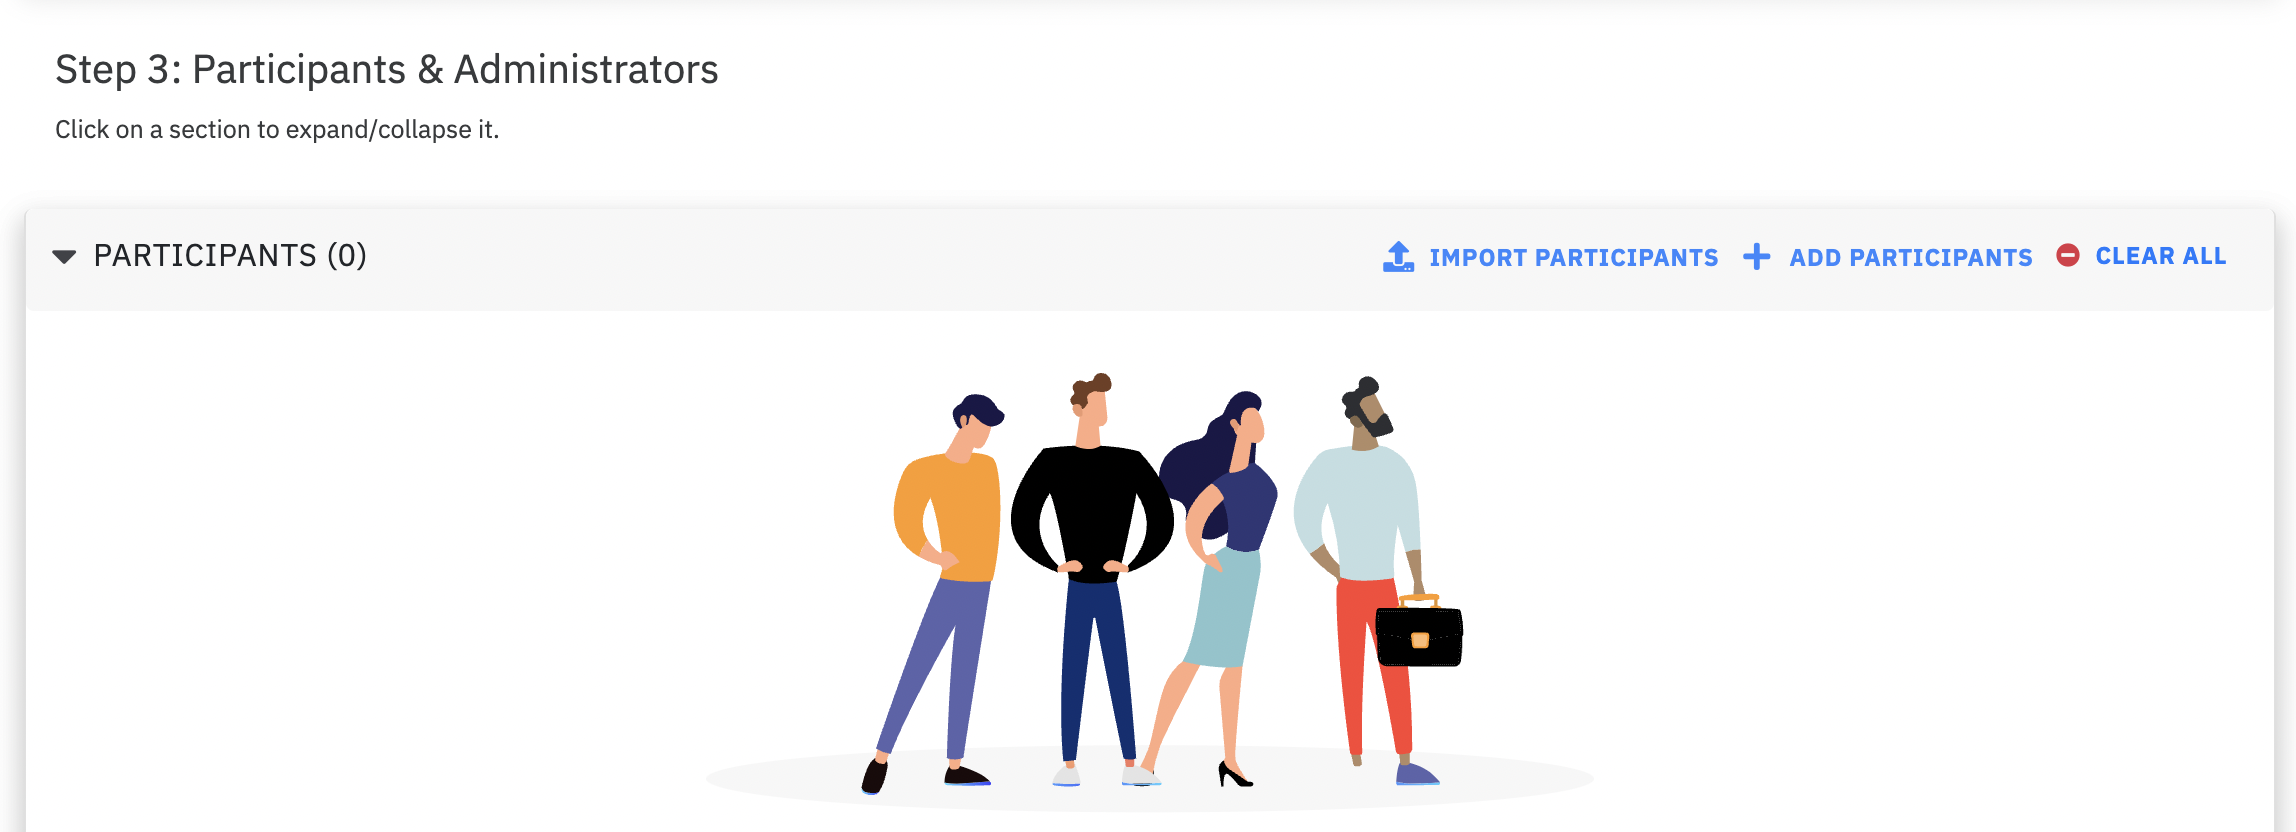
Step 3: Audience
You can add participants to the survey using two options:
- Import Participants: This option allows you to imports the participants into the survey using a CSV file.
- Add Participants: Get the participants added to the survey directly from the platform.
For a more detailed step-by-step guide refer to this article.
Step 4: Launch Settings
Survey Launch Date & Time
- Click on Send immediately if you want to send out the survey immediately.
Use Send immediately option only when the participants count is than 200.
- Use Send on to schedule and launch the survey.
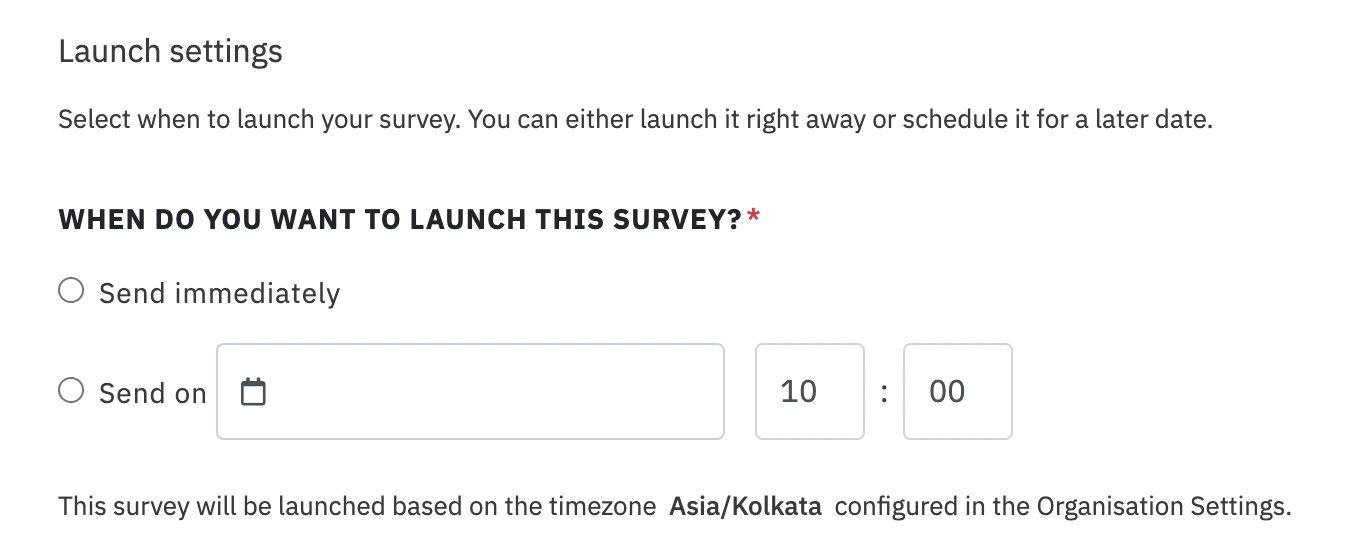
The scheduled surveys will be launched based on the timezone configured on an account level.
Survey end date
You can enter the survey end date here by selecting the date and the time.

Email Template
Select the survey launch email template here.

CultureMonkey offers an email template repository from which you can chose from. You can also add your own set of email templates to the survey.
Reminders
You can schedule the reminders using this option. You can schedule upto 4 reminders during the survey launch.
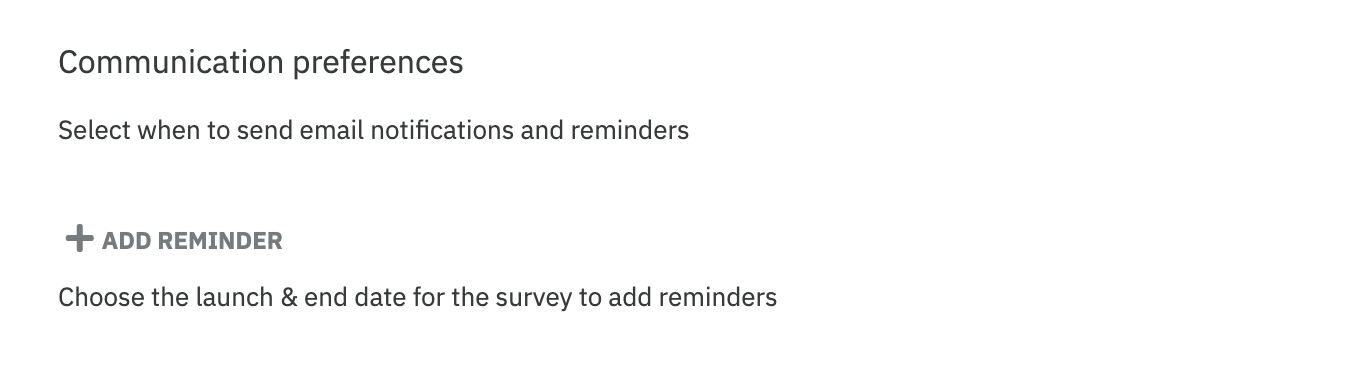
You can also set-up multi-channel reminders for any survey.
Save & Continue
Once you have completed all the survey launch settings, click on Save & Continue to save the changes and move to the next step.
Publishing the survey
Once you have configured the basic, questions, audience and launch settings. The next step is to publish the survey.
Preview
Click on the preview which is loacted in the questions tab to verify the survey questionnaire once before launching it to the audience.
Publish this survey
Once you have verified the survey questionnaire using the preview. Click on publish this survey to get the survey published.
The pop up with the success message will show up in few minutes.
Voila! You have created and launched the survey in CultureMonkey.